Things supports Markdown for formatting text in your notes. It allows you to add style and structure by typing a few special punctuation marks.
Getting Started
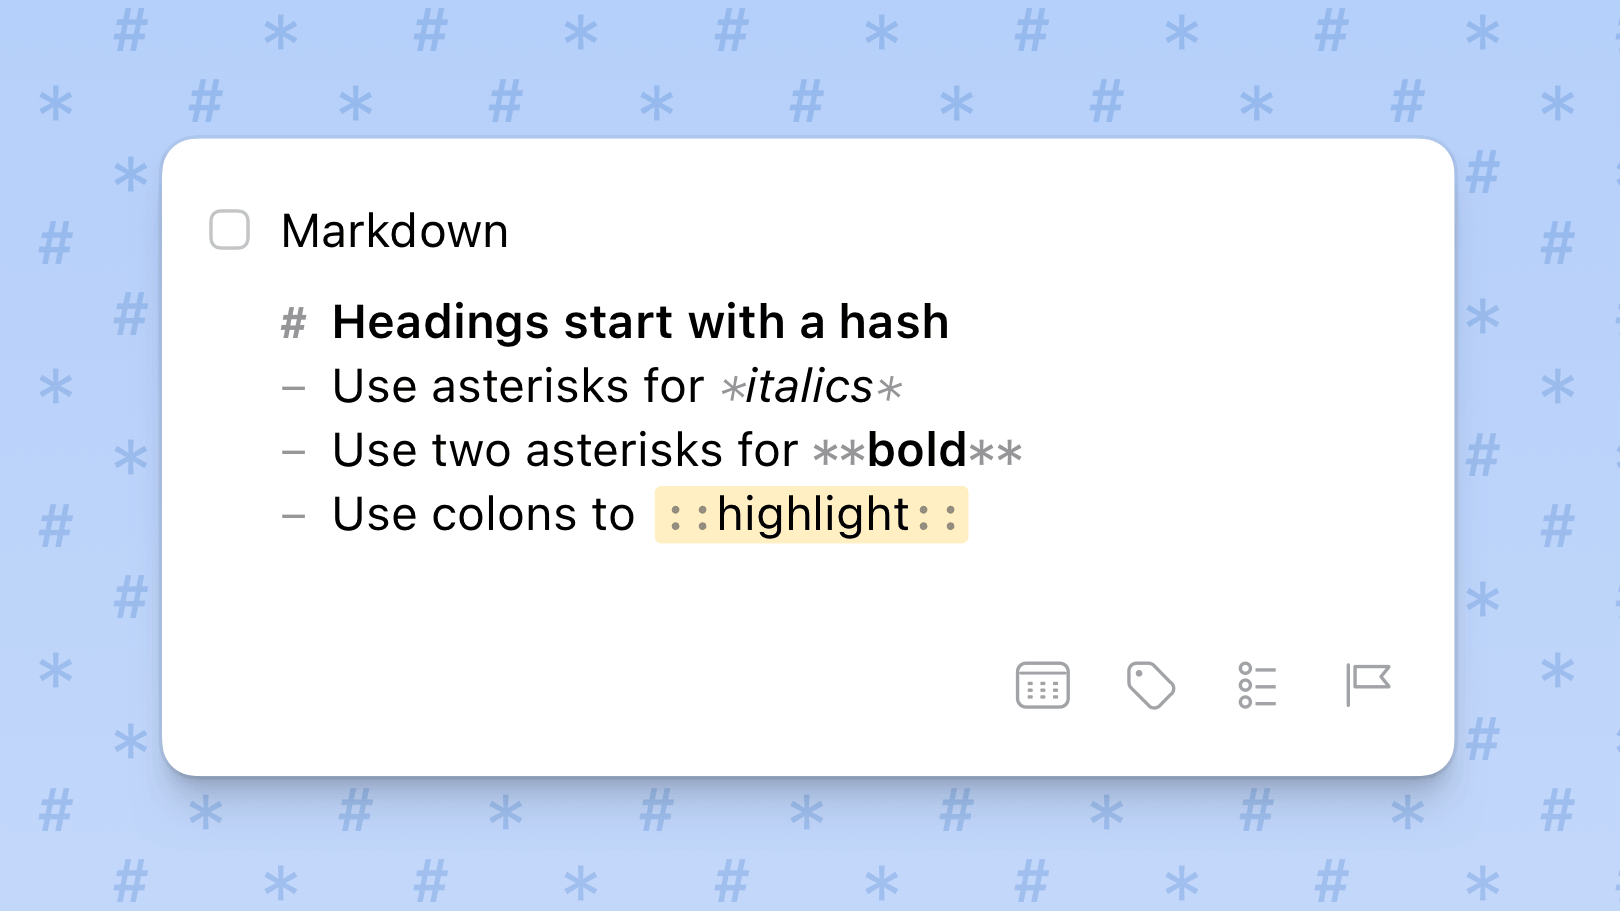
If you don’t know Markdown, here’s how it works. To emphasize a word, surround it with asterisks, like so: *emphasized*. Things will detect this and render the word in italics. If you remove the asterisks, it goes back to normal again. Here are a few more examples:
And that’s it! You now know Markdown. The examples above show the most useful features for structuring and styling your notes, and you can go ahead and try it yourself.
These styles can also be applied via keyboard shortcuts like ⌘ CmdI for italics, and ⌘ CmdB for bold.
On the Mac, there’s a formatting menu in Edit → Markdown. On iOS, you can double-tap a word to select it, then tap Format and choose a style from the popover.
Supported Markdown
Here’s an overview of all the Markdown styles you can use to structure your notes. If a keyboard shortcut is available, we've also listed it here.
## Heading
### Heading
- To make a heading, use hashes at the beginning of a line, followed by a space.
- ^ Ctrl ⌘ Cmd 1-6
- To add emphasis, put an asterisk around the text.
- You can also use an underscore
_instead. - ⌘ Cmd I
- To add strong emphasis, put two asterisks around the text.
- You can also use underscores
__instead. - ⌘ Cmd B
- To call attention to a part of your text, wrap it in double-colons.
- ⇧ Shift ⌘ Cmd U
- Wrap words in two tildes to strike them through.
- ⌥ Opt ⌘ Cmd U
- To quote a block of text, use
>followed by a space. - ⌘ Cmd '
- ...
- ...
- To write lists, simply type
-and some text. - You can also use
*,+, or•to start a list. - To increase or decrease list indentation, use ⌘ Cmd ] or ⌘ Cmd [.
- To convert selected text to a list, use ⇧ Shift ⌘ Cmd L.
2. ...
3. ...
- To write numbered lists, type
1.followed by some text. - To increase or decrease list indentation, use ⌘ Cmd ] or ⌘ Cmd [.
- To convert selected text to a numbered list, use ⌥ Opt ⌘ Cmd L.
- [ ] ...
- [ ] ...
- To write task lists, type
- [ ]followed by some text. - Mark a task complete like so:
- [x]. You can also use ⌘ Cmd K. - Mark a task canceled like so:
- [~]. You can also use ⌥ Opt ⌘ Cmd K. - To increase or decrease list indentation, use ⌘ Cmd ] or ⌘ Cmd [.
- To convert selected text to a task list, use ^ Ctrl ⌘ Cmd L.
- To highlight a short string as code, wrap it in backticks.
- ⇧ Shift ⌘ Cmd J
code block
```
- For a multi-line block, use three at the beginning and end.
- After the first three backticks you can note the language your code is written in. Things will not syntax-highlight any languages.
- Any smart punctuation will be disabled when writing or pasting within code blocks.
- ⌥ Opt ⇧ Shift ⌘ Cmd J
- Link syntax is supported for compatibility with other Markdown apps.
- You don't have to use this syntax, Things will detect pasted links without it.
- ⇧ Shift ⌘ Cmd K
- If you need to insert a break in your text, use three or more hyphens.
- Alternatively, you can also use three or more asterisks.
Please note that the Markdown syntax is always displayed in Things. This is intentional and there’s no way to hide it (though we might at some point consider changing how links are displayed).